17 June 2021
|

A layout project can seem like a never-ending project. Sometimes you just need a quick fix of modelling – a project to complete quickly, with visible results. This small coal yard only a few hours to complete.
Based on the Wills SS15 coal yard kit, the model is constructed, bringing a few changes from the manufacturers' intentions.
First released in 1979, the kit has appeared on many layouts. From the box, you could glue it together and place it on a layout in about half an hour, but we'll 'kit-bash' this one...
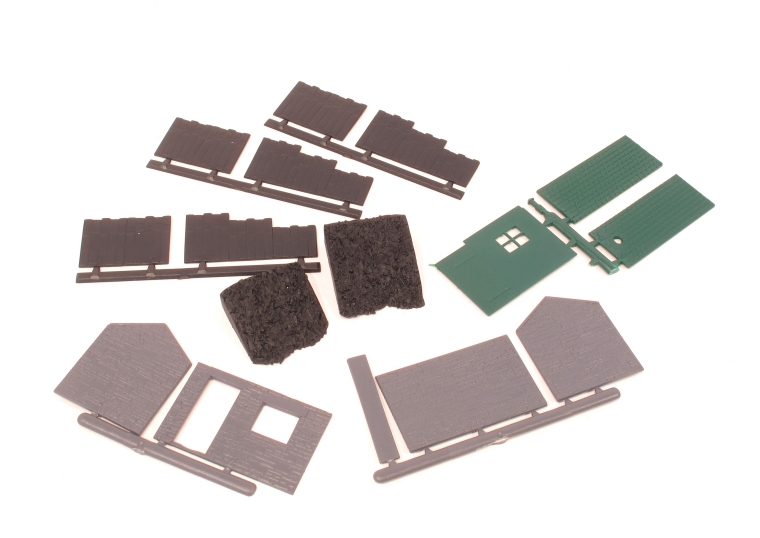
The Wills kit is moulded in plastic apart from the piles of coal which are rubber. If you could live with a green roof, you could get away without painting them, speeding things up further. Don't throw the plastic packing away as it can be used to glaze the window.
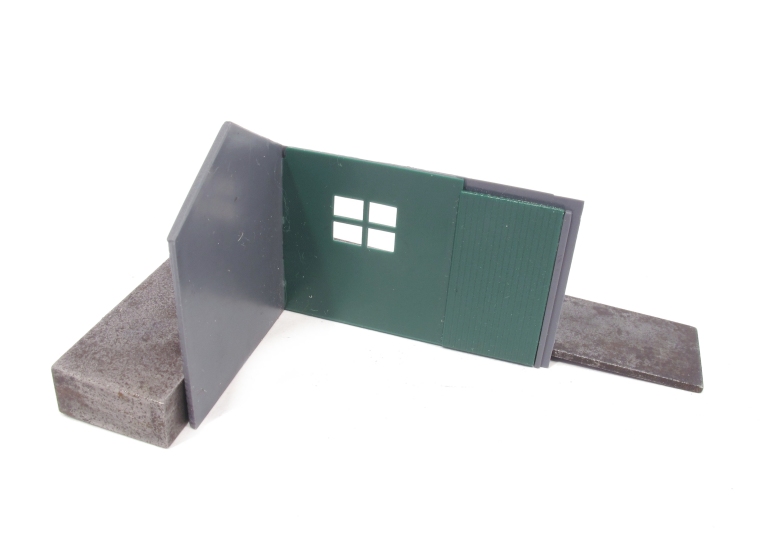
The door and window fit inside the front wall. This is then joined to one end, keeping the parts at right angles to each other.

Add the other walls and then the roof to hold the building square. Ridge tiles are provided but I didn't use them for this model. Using 1mm square plastic strip on the building ends and a 10mm tall strip of thin plastic sheet, an extended nameboard is built to replace the original, which I always thought looks too small. While adding detail to the model, I beefed up the barge boards and added a window sill with Slater's Microstrip.
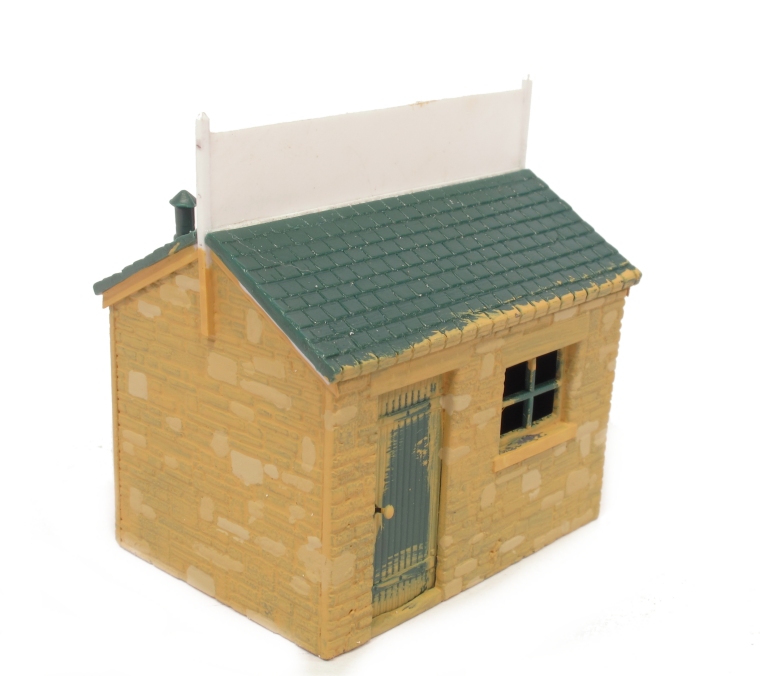
Precision Paints (P9595) Dark Cotswold Stone is the base colour. Small amounts are then mixed with Humbrol (147) and individual stones picked out. While the brushes are out, a coat of dark grey paint on the roof is a good idea. At this point, the model should be put aside to dry thoroughly, preferably overnight.

The coal bunkers are glued with plastic cement, then into position with PVA. Using the rubber coal piles as guides ensures that walls aren't too close together.

Old sleepers are a very dark colour and here would be quickly covered with coal dust. Railmatch Weathered Black (412) is a good starting point. Before this dries, streak some matt black and dark brown into it.

Run some Humbrol dark brown enamel wash over the stonework to fill the mortar lines. As well as providing more colour, it hides any spots where the picking out of individual stones was less than perfect.

Glue rubber coal piles in place with PVA. Cover with crushed coal, fixed in place with diluted PVA glue.
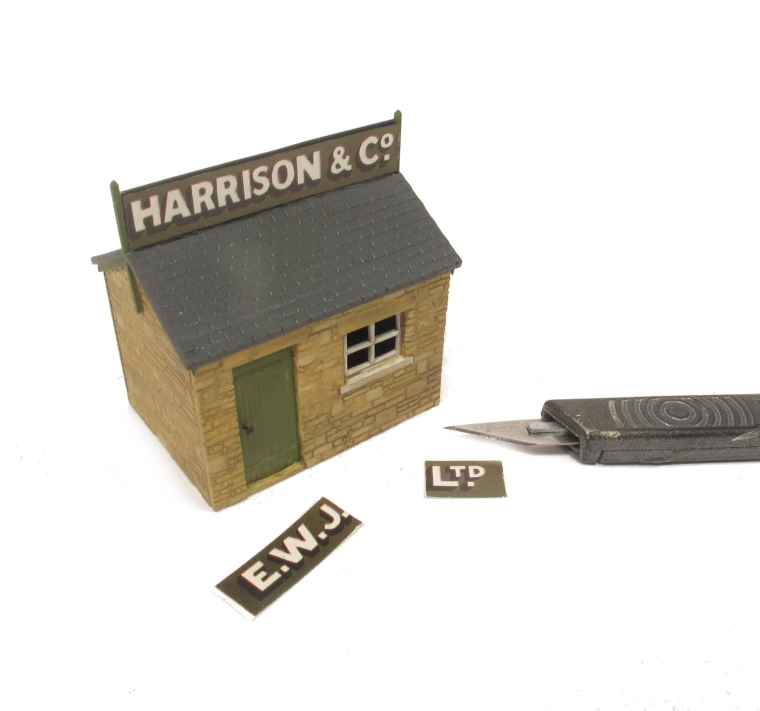
Pick out the woodwork in a nice colour. I chose green to match the nameboard I found in an Alphagrafix pack. This was too long but could be chopped between letters to fit the roof. You could make something up on the computer if you prefer. Glaze the windows with clear plastic.

Stick the hut down and add static grass or flock powder around the base to blend it in. Sit back and look at your newly-completed model with pride!