


31 October 2019
|
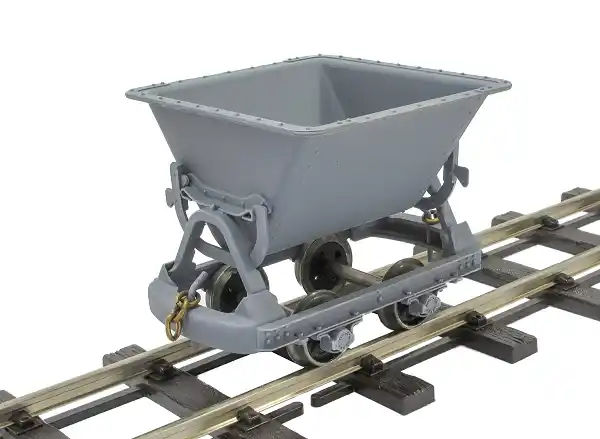
Many thousands of skips were produced and as with much of the wartime railway equipment, those that survived their time on the battlefield returned to the UK for a life in industry. Slaters 16mm model makes up into a finescale 16mm replica of this useful prototype.
 Moulded in plastic, if you've ever stuck an Airfix Spitfire together, you'll be able to manage to build this kit. Wheels are Slater's own make – 32mm gauge only. Four A4 pages of instructions and history are included in the stout cardboard box that is big enough for the finished model.
 This is a hi-fi kit which will suit the growing band of large scale modellers looking for finer standards and more detail. Raised writing on the axleboxes is clear and easy to read despite being only 1mm tall. There are plenty of bolt heads and rivets to be counted too.
 Removing some of the parts from their runners needs more than a modelling knife. Careful modellers will use a fine tooth saw, but we've always found that a set of flush wire cutters too worn for use on metal do a perfectly good job.
 The substantial headstocks are made up for three parts located together with pegs and holes. We fixed them with plastic cement followed by a wash of Mek-Pak solvent. After a few hours, when this had hardened, the faces were sanded smooth to look like a single pressing.
 Tiny, brass bearings are fitted into the axleboxes. The instructions say you might need a little superglue to hold them in place, on my model, we felt this was essential. Once fixed and dry, run a drill bit by hand down the bearing to ensure it was free of glue.
 Sideframes and headstocks are brought together, trapping the wheels inside. While the glue is soft, the model is stood on some glass to ensure it sits flat. Eyeballing the squareness of the axles from the side, this seemed OK.
 The skip supports are in two parts and once assembled, locate under the recesses in the headstocks. The body brackets are handed, there should be a lock on opposite corners of the wagon, not both on the same side.
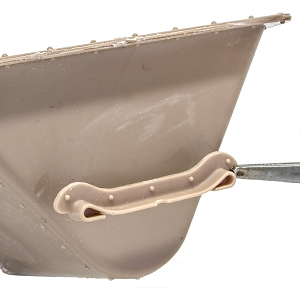 One of the harder jobs is attaching the cradle brackets on to the skip body. There are slight recesses in the ends, but you need to look carefully and in good light to see it clearly.
 If everything is in the right place, it's possible to tip the skip prototypically to the side. While it's nice to be able to do this, we preferred to glue the thing in place so it stays put while running.
For more details, visit the Slater's website.
