The Salmon wagons have had long life spans and have been upgraded over the years as required to fit in with the modern railway. This article sees us build Cambrian’s BR 50-ton bogie rail wagon built between 1951 and 1955. The re-bogied version with ASF bogies upgraded from 1998-2000 is also covered. Other variants of this range of wagons are available from Cambrian Model Rail. We have chosen to model in OO gauge, but you can build the kits to EM or P4 standards if you wish. The older wagon we’ve modelled is transporting rail and the newer wagon is fitted with air brakes, steps and is carrying rail panels.
This Cambrian model rail kit range contains useful items of rolling stock, but it helps with construction if you know your wagon nomenclature. Wheels aren’t included, so we sourced ours from Alan Gibson with bearings (details with each wagon pack). These kits are straightforward to build and the plastic is quite soft, so they’re easy to work with and only basic tools are required. Tidying up is minimal as there is little in the way of flash or sink holes.
Assembling a Salmon wagon
1
Stick the two halves of the floor together on a flat surface ensuring they’re level and aligned. One of the two halves was thinner than the other so we used a piece of plasticard to make up the difference.
2
Stick one of the solebars to the end of the floor, using a mirror as a work surface to ensure it was flat during this stage. The solebar overhangs the end of the floor slightly so ensure that the overhang is equal at both ends.
3
Using a set square, glue the other solebar and ensure that the vertical uprights are square.
4
Fit one of the four trusses using the studs on the floor as a guide. Fit this nearest to one of the solebars and align the vertical posts with those on the solebars. Note that the face of the angle of the truss matches that of the solebar and faces inwards.
5
Glue the front on one of the chain boxes and glue this on the pad marked ‘x’ on the inward facing side of one of the solebars – it doesn’t matter which of the two solebars you fit it to. Don’t glue it right in the corner otherwise they’ll be no room for the crossbars.
6
Glue the other three trusses in place. It’s important you use a straight edge to ensure the verticals are in line before the glue sets.
7
Now it’s time to glue the four crossbars in the corners of the uprights. If you find this difficult you might find it easier to use 1.5mm L shaped angle from the Plastruct range. Cut this oversize, clamp in place while the glue sets and cut off overhang when dry.
8
Glue the buffer bodies to the headstocks, then attach at either end of the wagon. When set, we drilled 1mm holes through these to accept the buffer shanks.
9
Fit the winches, eight per side. These need to be evenly spaced about 33mm apart along each side.
10
The U clamps are moulded but look better if added. Make a loop from 0.3mm brass wire using a 1mm drill as a former. Darken these using blackening fluid.
11
Drill two holes where clamps have been moulded on the solebars using a 0.35mm drill.
12
Push the loop through the holes and bend over. Secure with cyanoacrylate from the rear.
13
Fit coupling hooks to the buffer beams. They aren’t supplied with the kit which gives you lots of flexibility. I used items left over from Dapol kits, but there are lots available from the likes of Slaters, Romford, 51L, Dart Castings and Alan Gibson.
14
Fit the handwheels (a choice of three) to the brackets, then glue in each of the four corners. For strength these are made shorter so you can glue the wheel to the solebar.
Content continues after advertisements
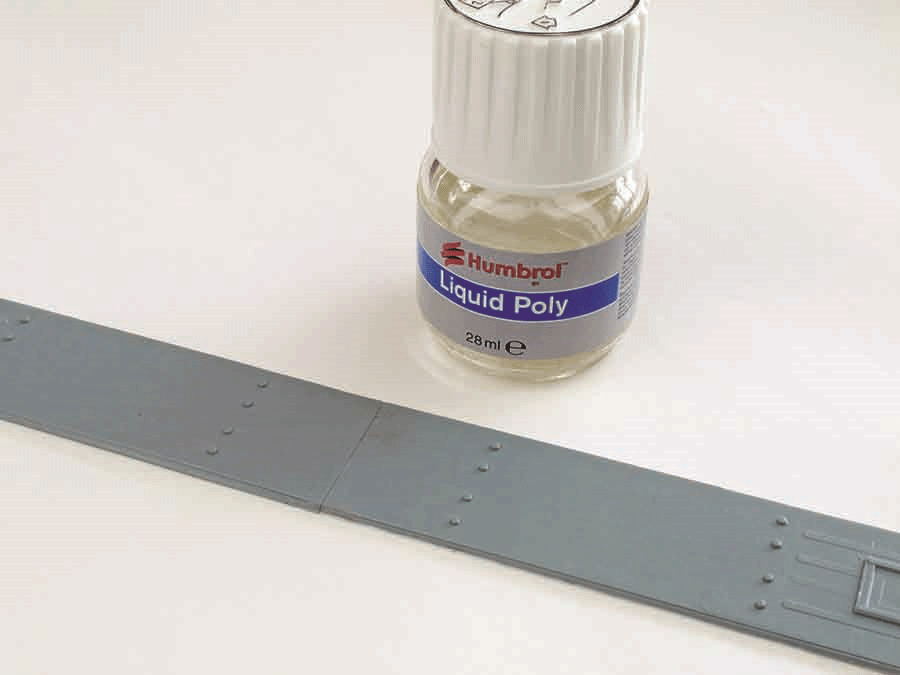
YSA/YWA with ASF bogies
15
Some extra winches are provided with the kit and additional ones were often fitted so we decided to add more to the contemporary model.
16
Many later wagons had steps and if you wish to fit them there are two per wagon, on the left of each side.
17
Glue together the two halves of the air tank and brake distributor and glue in place on the second and third trusses on the opposite side of the wagon to the chain box. Pre-drill them with 0.6mm holes to accept the wire for the pipes runs.
18
Fit brake pipes between the brake components using 0.6mm flexible wire such as that sold by florists. Attach using cyanoacrylate.
19
Fit air brake piping on the buffer beam using 0.4mm brass wire. Put a curve in these using pliers and crimp the free end using the same tool.
20
The ASF bogies are one piece of plastic. First clear the holes with a 2mm drill and glue the Gibson top hat bearings in place on the inner surface with cyanoacrylate. On the outer surface, glue the axlebox fronts in place with cyanoacrylate. Trial fit the wheels but remove them again afterwards until painting has been completed.
21
If you wish to model railway coupling then fit the adapter plate after modifying the holes as explained in the instructions.
22
Use the nut and screw with the rectangular shaped bolsters to fit the bogies. Don’t attach to the wagon yet though.
Salmon/YMA
23
Fit the end plate detail side up to the ends of the floor with the angle iron on the inside.
24
Fit the five bolsters with one in the centre and the others spaced equidistantly along the floor.
25
To fit the bogies, glue the side frames onto the stretcher, then proceed with construction as with the ASF bogie instructions.
If you’re new to railway modelling, our top tools for beginners article has all the details of the essential kit you need to help you build your own Salmon wagon.
Painting a Salmon wagon
26
If you’ve added bolsters (to carry loose rail), fit the stanchions. The models were primed with red oxide car primer, then sprayed black with Humbrol 33. Spray a weak solution and you can leave the primer to show through slightly which gives a weathered rusty effect.
27
The buffer beam and solebars of the ASF bogie variant were painted with dilute Humbrol 99 yellow acrylic. The control equipment for the air brakes and pipes were painted red (19) and the handbrake wheels and steps white (34).
28
Paint areas where the transfers will go with Klear floor polish, then add them using Humbrol DecalFix. The ‘Salmon’ logo (FRH4890/001) and warning flashes (F4214/2) come from the Fox range. Other lettering was done with a cocktail stick and Humbrol white acrylic paint.
29
Wash the wheels to remove oil from the machining process and spray with Humbrol chocolate (98). Weather with a mix of smoke and iron oxide weathering powders and add some black around the axleboxes on the plate frame bogies to represent oil.
31
The buffers were painted with Humbrol Metalcote silver 27003, then superglued after polishing. Add a dab of black paint to represent grease and oil on the faces.
32
Glue the bogies to the pads marked at either end of the model with Humbrol Liquid Poly cement. Use a square of 0.75mm Plastikard under the ASF bogies to get the correct ride height.
33
Prime the track using a car primer and then paint the sleepers using Humbrol 98, chocolate. When dry, coat the sleepers with a wash of tank grey (67) and then drybrush with black (33). The rails/chairs are dusted with Humbrol rust weathering powder. Hold the loads in place using chains or as here, on more modern wagons using strips of paper to represent ties. These should be spaced every scale 10ft.
Now you’ve completed your Salmon wagon, make sure you check out our guide on how to model loads for model railway wagons here.
Interested in creating a mining layout? Our guide on how to model wagon loads for mining areas will give you all the top tips you need.
Need more advice? Take a look at the BRM Techniques page for all our latest guides and advice articles.


 How to build a Salmon wagon
.gif)


