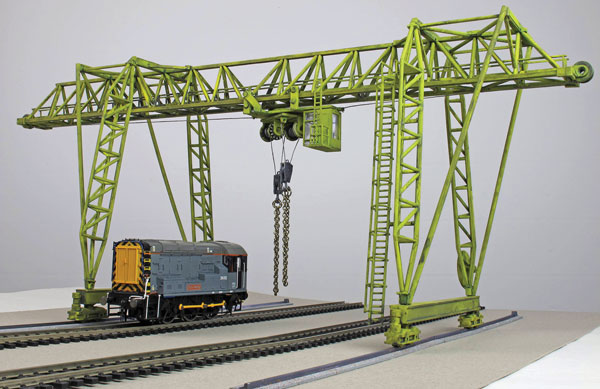
This crane kit will provide you with an impressive centrepiece item for your diorama or layout. There are several variants available in the Kibri range, so you are sure to find something to suit your needs. The kit works out at good value when you consider how much the truss sections alone would cost you as individual parts. Minimal work is required to clean the pieces, only a small amount of filler is needed and the overall fit is excellent.
Kibri uses a three-star system to show the difficulty level of its kits and this kit has a two-star rating, which means it is intermediate. We wouldn’t recommend it as a first kit, but if you have built a few previously then you shouldn’t have too many problems. Be aware that this kit contains parts you won’t need because the sprues are shared between several kits in the range. These of course are handy to keep in your spares box for future projects!
Before you start the build, consider where the crane is to be sited. Look at the dimension information on the outside of the box and ensure you have sufficient room in its eventual ‘home’. Also consider where any road transport will be parked in relation to the track for loading/unloading and which side the access ladders for the crane operator need to be fitted? Major assembly errors can be very difficult to correct afterwards.
The model isn’t suitable for constant use because the plastic bearings aren’t robust enough, but it can certainly be posed with no difficulty. A hand tool is provided for this and if you wish to take advantage of this feature, don’t glue any parts marked in the instructions with an asterisk (*). For significant use we would recommend that you upgrade all the bearings and I'd consider it essential if you are to motorise the kit.
You should follow the instructions that are provided with the kit. However, we have listed variances and modifications in the following directions so you should be sure to read through them all first before starting.
1
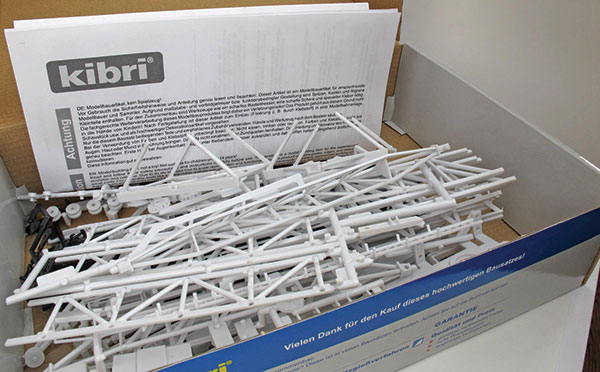
When opening the box, it can look quite daunting to see the number of parts in a kit. however, as with anything complicated, this will disappear with familiarisation.
2
Take the pieces out of the box and arrange them on a work surface. Sort the sprues into piles by placing those of the same colour together. Note the similarity and differences between sprues. Read the instructions through a few times too and study the picture of the finished crane on the box.
3
Inevitably, in transit, a few pieces will have become detached. Collect these together and ensure that you make a mental note and retain them. You may be able to identify which sprues they have come from. By comparing parts and close scrutiny you may also find some damage, in which case you can correct this now.
4
When attaching the leg supports to the central span in sub-assembly three, you have the choice of fitting each in the inboard or outboard position. When deciding, you should consider where any road transport using the facility would be positioned and how many tracks you want to span.
5
Ensure that all the contact positions for the leg supports are glued in place including the side struts. This involves a lot of clamping, gluing and waiting, but will lead to a much stronger structure.
6
When making sub-assembly four, ensure that you have all four wheels and 18 ball bearings in place before you glue the two halves together. Have a container to hand for the ball bearings so you don’t lose any.
7
Apply the glue to one half, quickly put the wheels in place and then press the two halves together. I had to use five clamps to hold such a large piece together until the glue had set.
8
When constructing the ladder (sub-assembly five) ensure that you line up the rungs between the steps and the cover. Then glue the assembly to one of the legs, ensuring that the tab at 90 degrees to the leg is at the top of the ladder.
9
For sub-assembly seven, the instructions suggest gluing the eight wheels (part 20) to the trolley frame (part 27). It is probably better if these revolve, though. Start by cutting some 3mm discs from a 0.45mm plastic sheet using a hollow punch.
10
Put each wheel through the hole and glue the disc to the other side, being careful not to get glue anywhere except the end of the axle.
11
Two of the wheels on the trolley frame have longer axles to go through the material. Cut off the axle, drill a hole, and fit longer ones made from 2mm diameter plastic rod.
12
When fitting the two spools in section seven, ensure that you fit the gears inward so that they mesh. This will enable the hooks to work in unison.
13
Do not assemble the glazing yet and put all wheels and pulleys in place. Push parts 12 into position temporarily at either end of the main girder. Cover mounting holes with masking tape.
14
Mount small parts onto card using double-sided tape or a mounting spray glue. Use clamps to hold parts while painting. A large paintbrush handle is useful for holding parts with a central hole.
15
Mount the seat onto a piece of card and then brush-paint it using enamel in whatever colour you have chosen.
16
Give any areas where you have used filler a quick coat of white primer and leave to dry. Then, spray the yellow topcoat; I used Humbrol 99 enamel. Spray half of each assembly and when dry, spray the other half. This will give you something to hold.
17
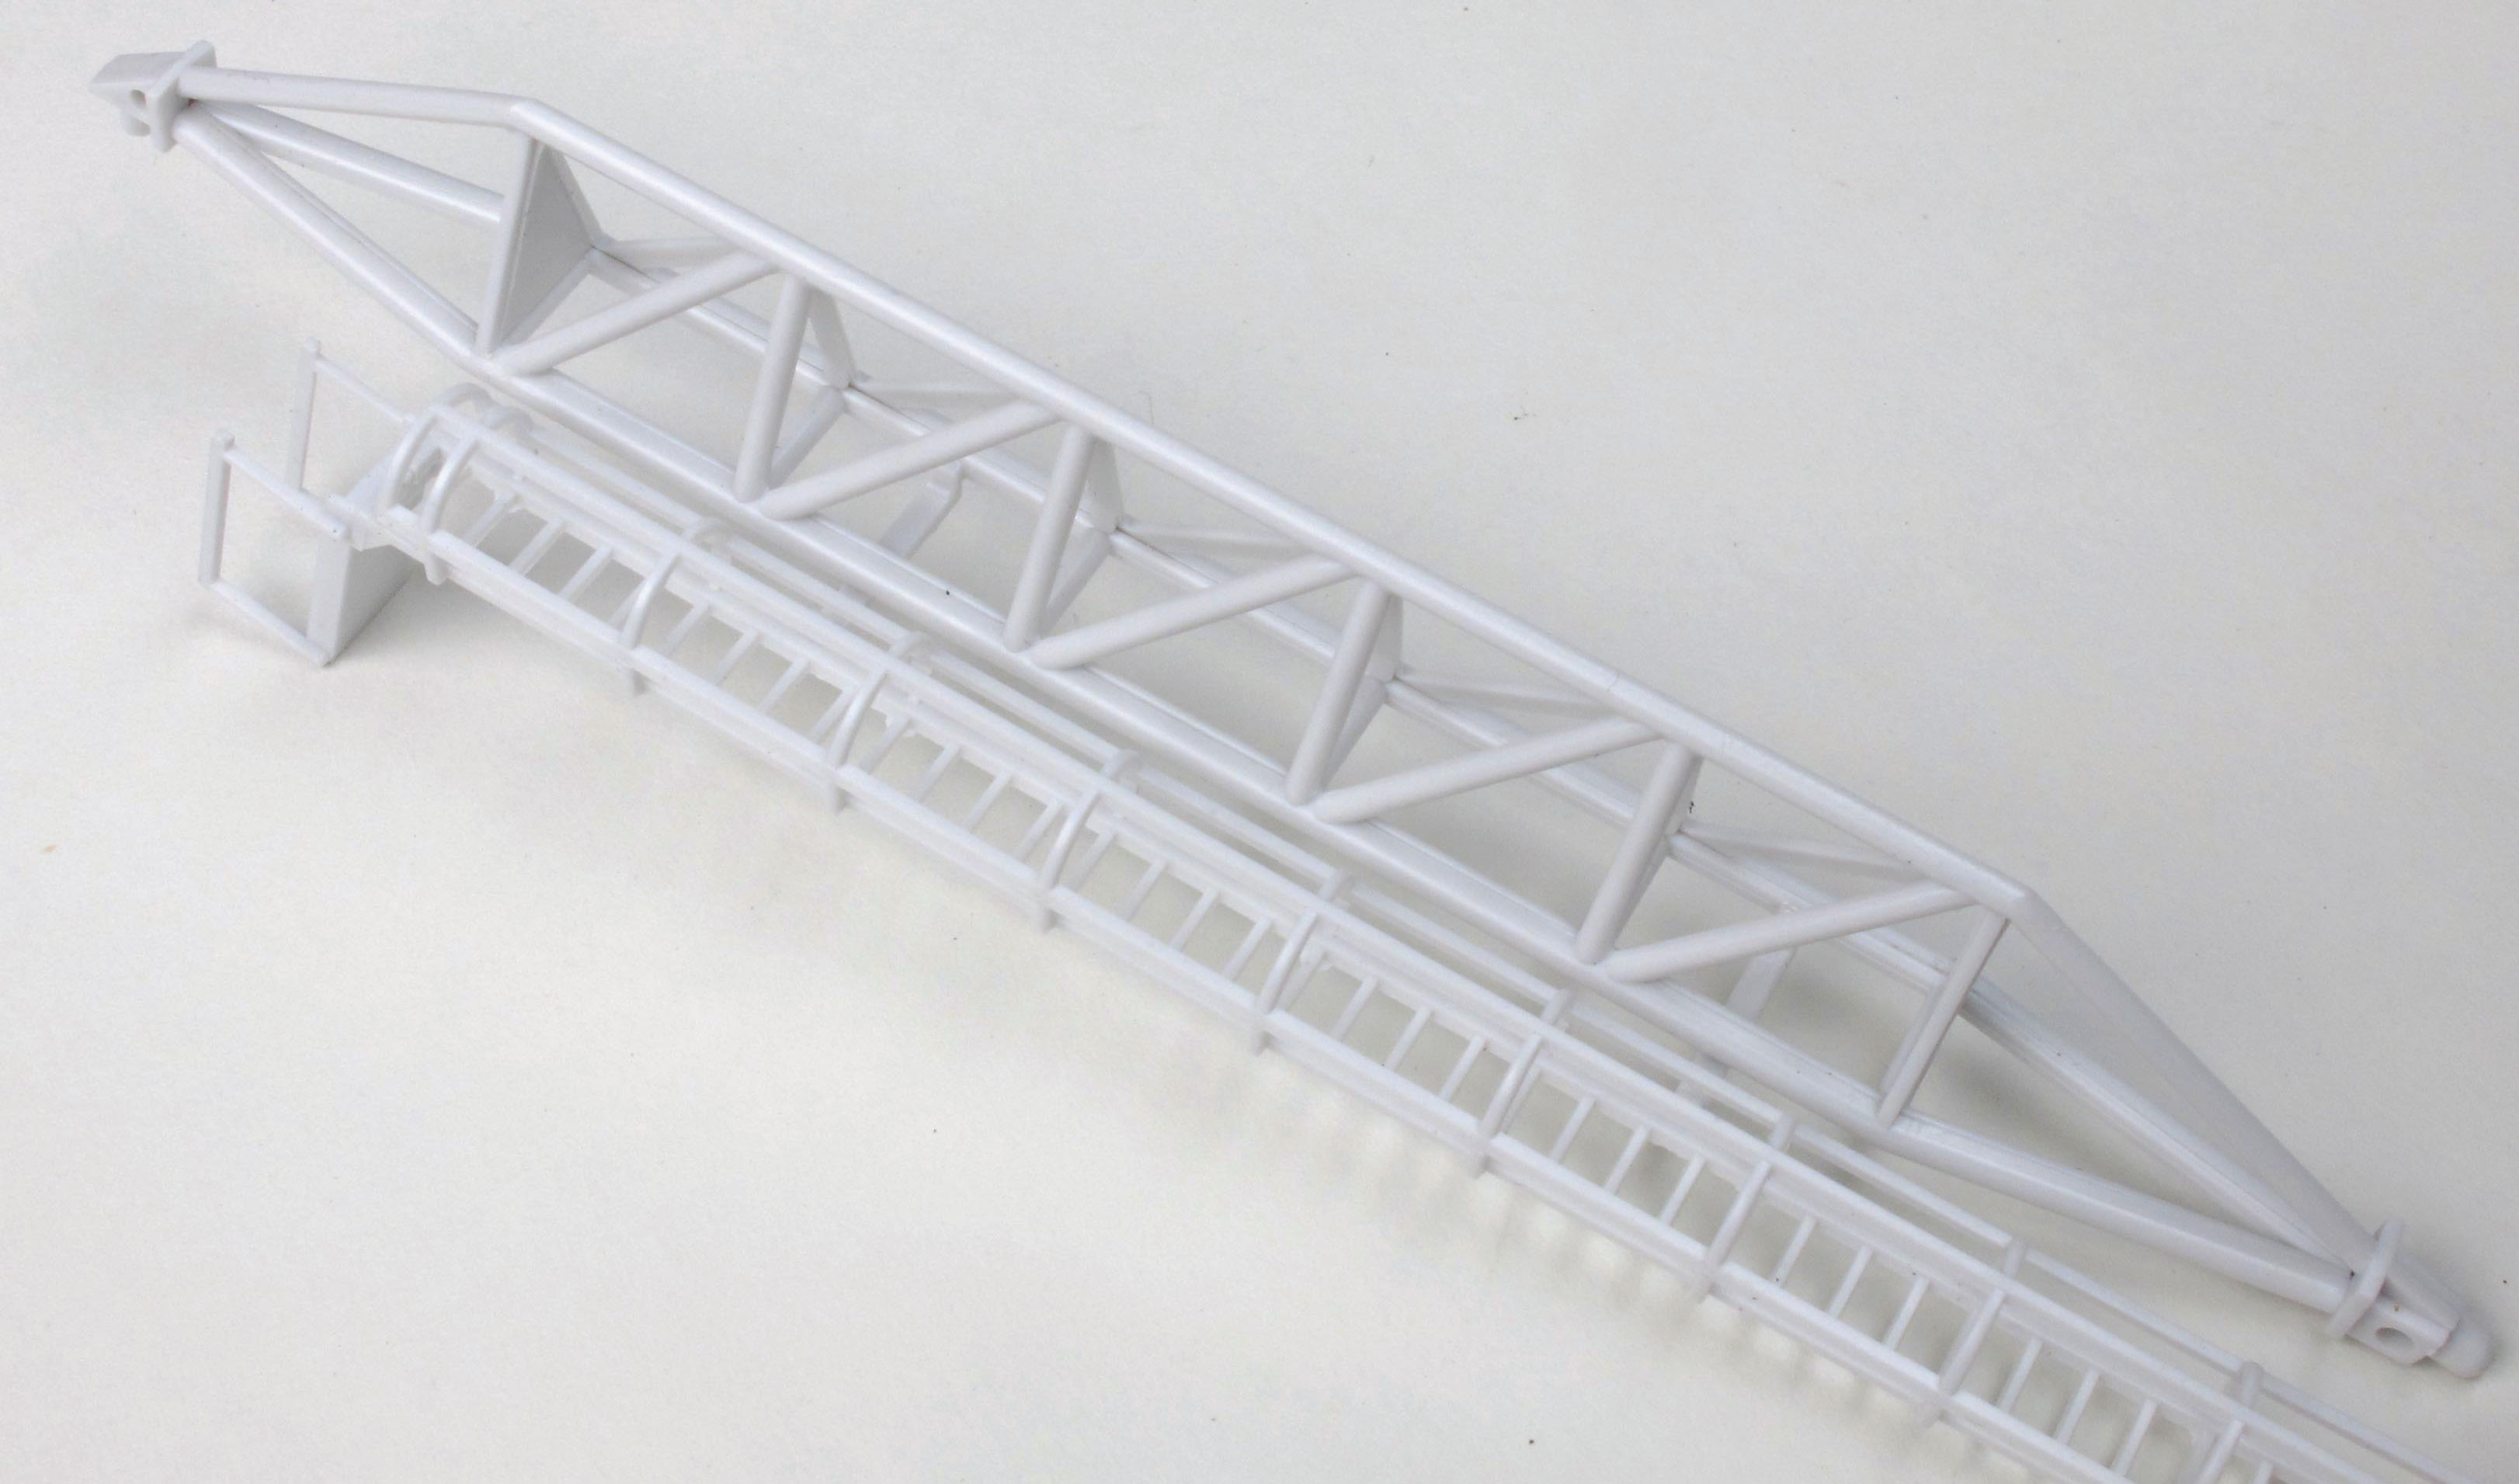
When spraying parts like this leg, it is essential that you keep the parts and the airbrush in motion so that you get an even covering and reach all corners. Work in good light so that you can see what you are doing.
18
If you want to paint this kit with a brush, use an old one as you are likely to damage the bristles when reaching into the recesses. Also, paint moving parts like pulleys separately and fit them in place after the paint has dried.
19
Push the control pod glazing into place and glue the seat. I used PVA to avoid any fogging issues, although it does take longer to dry. Then put the last piece of glazing in place and glue the side on with PVA glue.
20
I made up a wash of grey acrylic paint, thinners and water and gave all parts a wash of dirt. You need to get a balance between the ingredients to get an opacity that dulls the paintwork while still tending to collect in the corners.
21
Apply a coat of Humbrol Metal Cote 27004 Gunmetal to all the parts that meet the cable and where the trolley wheels run. These are the two reels on the hoist, the two return pulleys at either of the main girder, the outer face of each main girder and the wheels on the trolley. When dry, polish with a cloth.
22
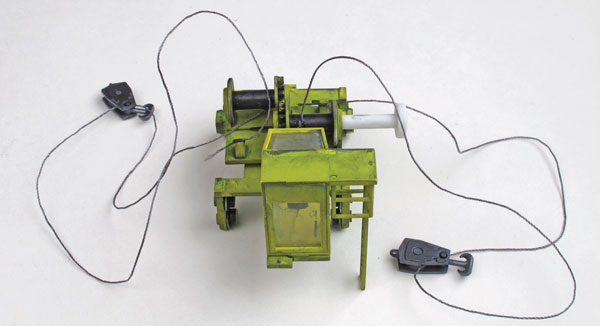
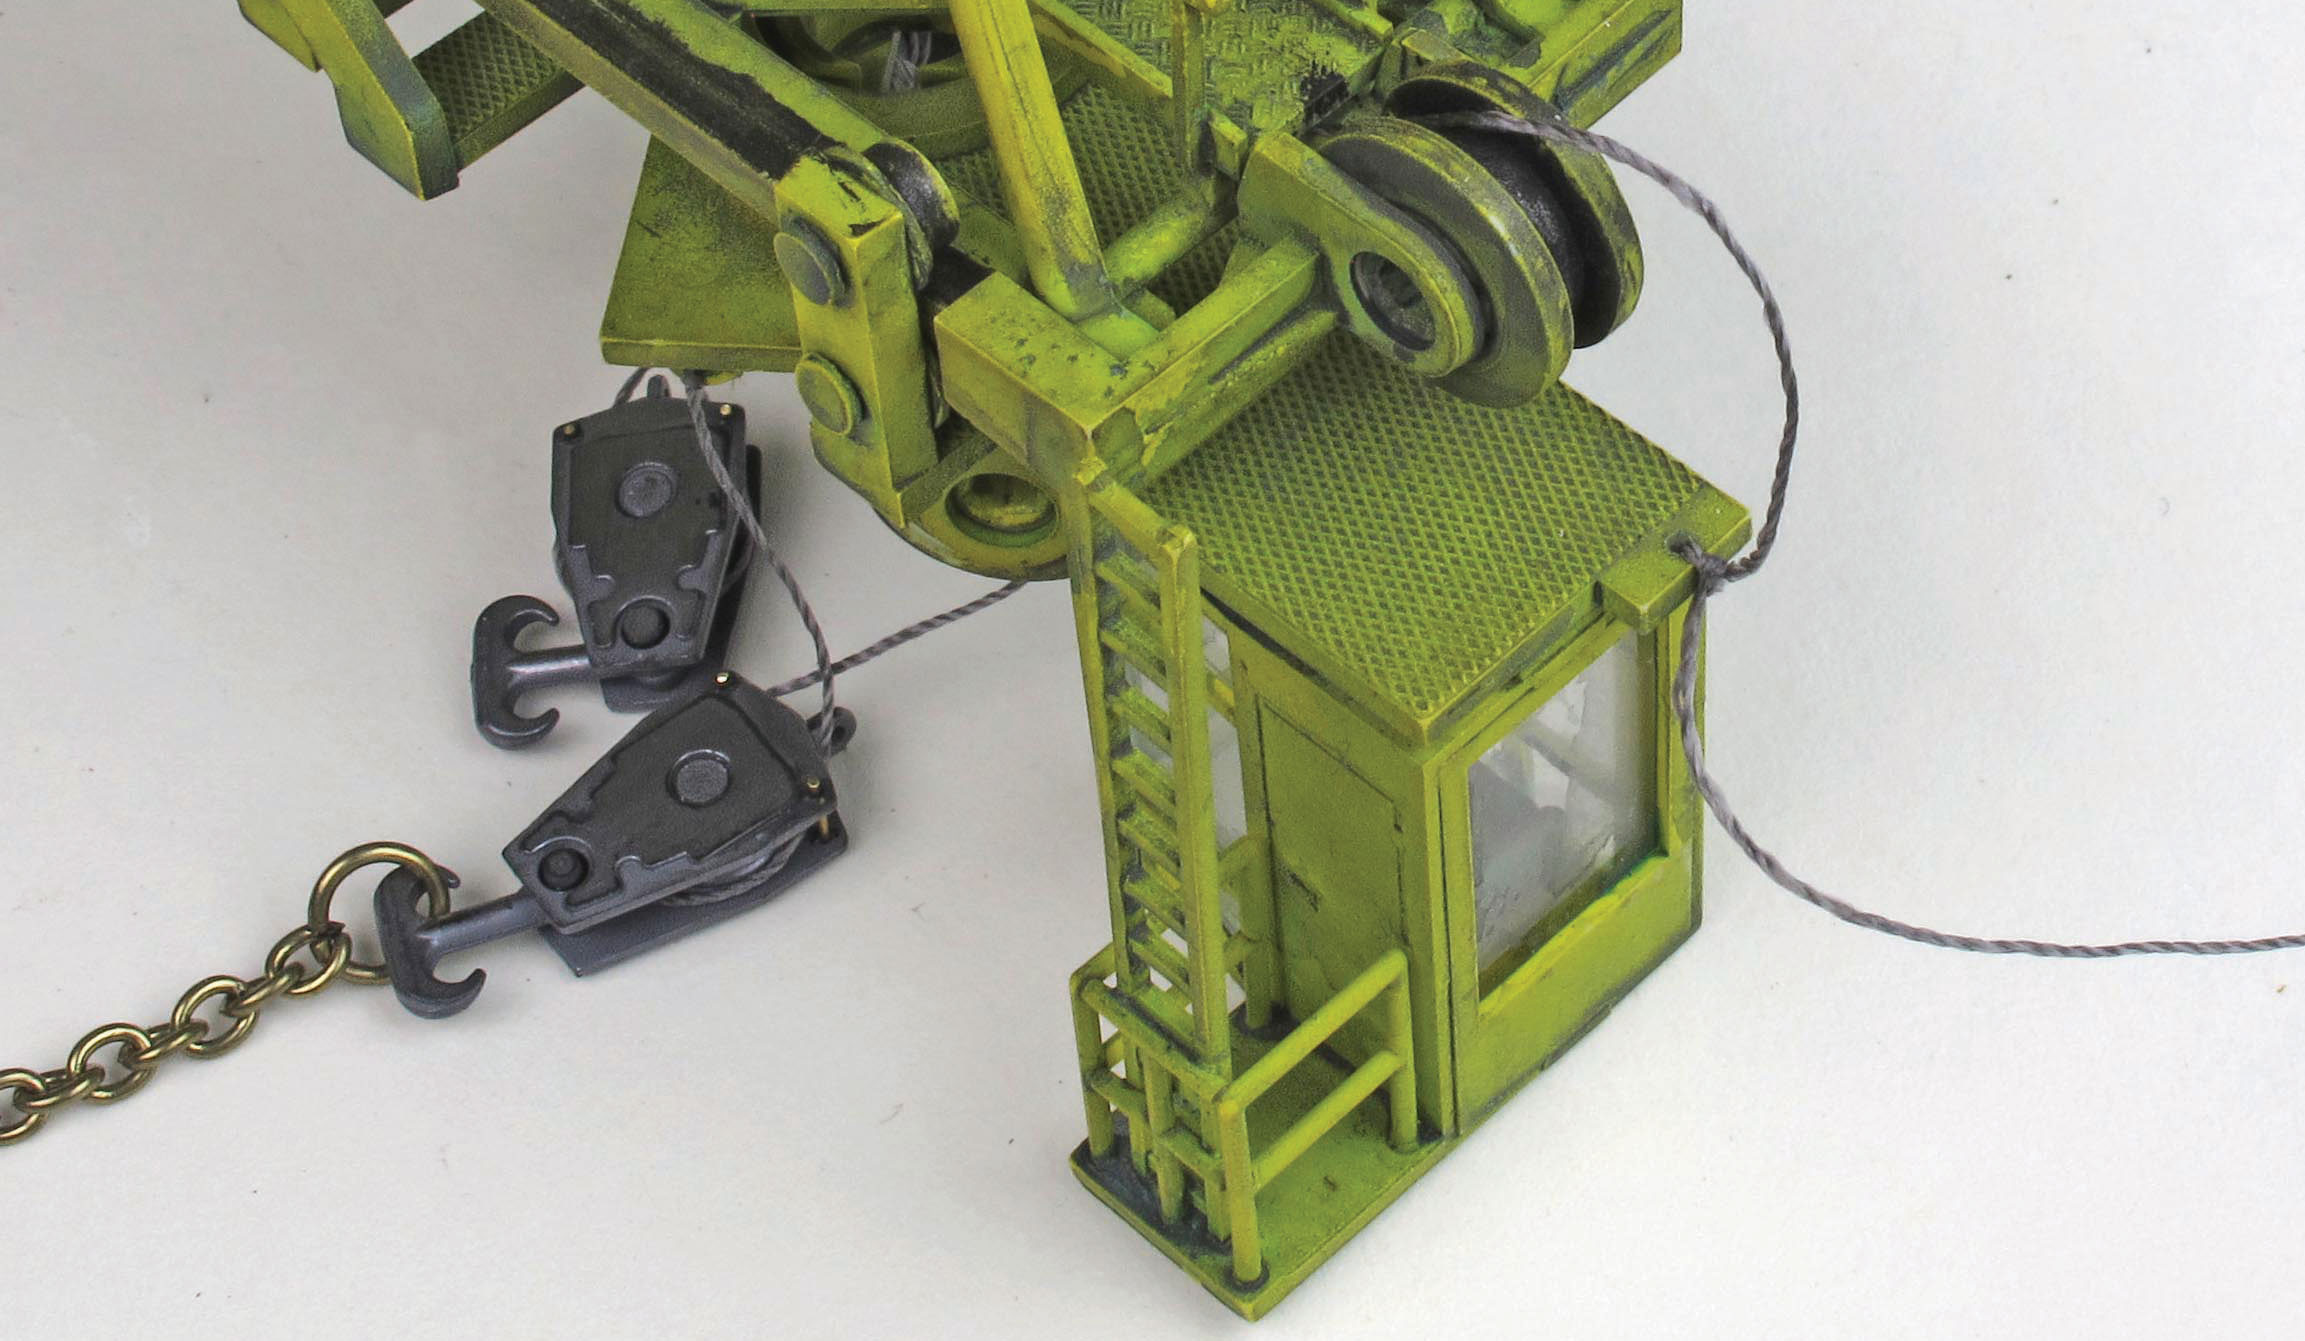
Cut two lengths of cable string each 35cm long. Tie the end of each to the hole in the eye of the trolley, pass the string through the hook block and superglue the other end to the reels.
23
Place a weight on the end of the hooks to keep the string under tension – some chain would be ideal, like from some cheap jewellery.
24
To stop the hook blocks from ‘turning turtle’, drill 0.45mm holes in the corners, pushed brass rod through and glued it in place with superglue.
25
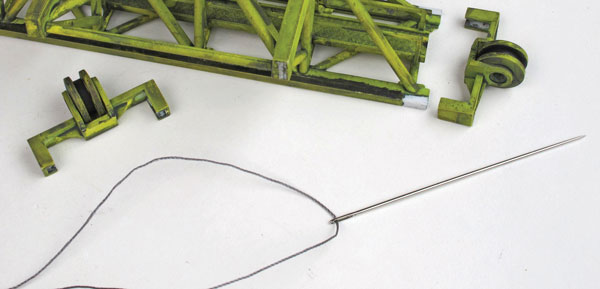
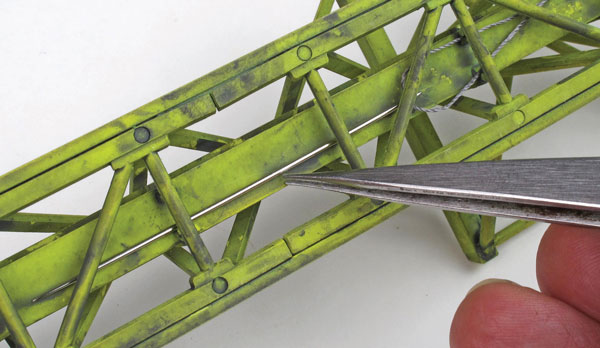
Take the pulleys off the ends of the main girder and thread the ‘cable’ through a needle. A large darner is a good size to use, the large eye makes threading easier.
26
Pass the ‘cable’ down the main girder using the space under the walkway. Use a pair of tweezers to aid its passage.
27
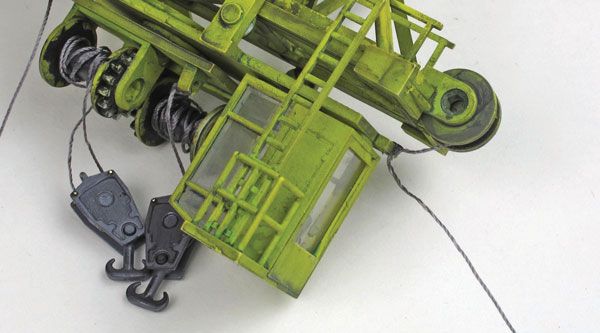
Remove the needle, push the trolley onto the main girder and then replace the pulleys on the ends of the main girder. With the trolley at the far end of the main girder, tie the ‘cable’ onto the end of the trolley using the eye provided. A blob of superglue will stop the knots undoing.
28
Push the trolley along to the other end of the main girder. Put the cable end through the eye in the trolley and knot it off. Ensure that the slack is taken out of the ‘cable’ when doing this and check carefully that it runs over both pulleys.
29
The runners are spray painted with Humbrol Metal Cote steel 27003 and then the concrete areas are painted with a grey acrylic. Use a toothbrush to flick rock-coloured tones at the latter to finish.
30
Glue the runners in place with contact adhesive and use the completed crane to get the spacing correct. Ensure that the two sets of runners are parallel.