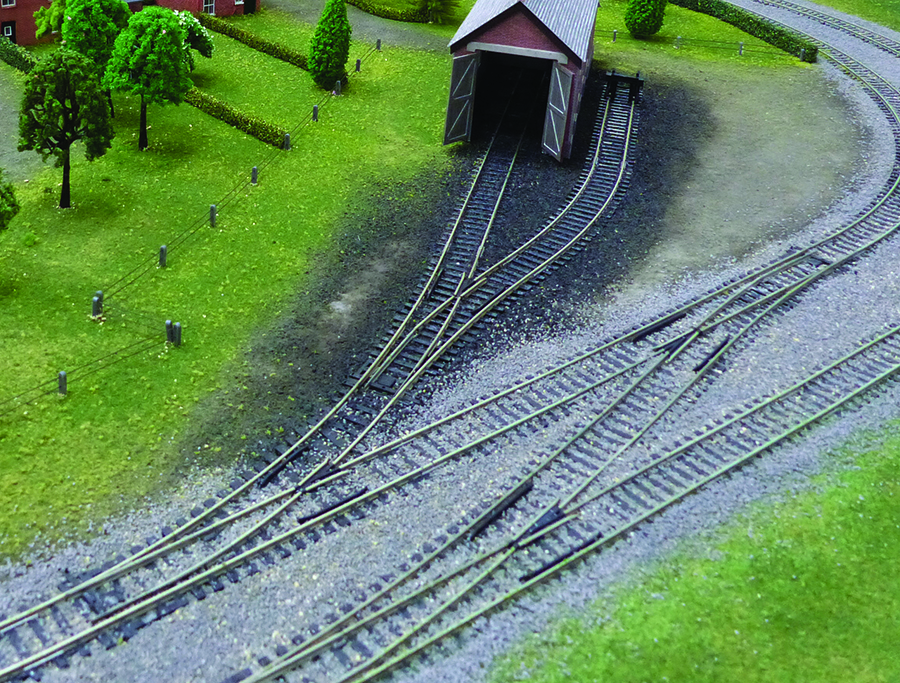
You've made the long-awaited purchase of a train set. You're excited to start your journey into the world of railway modelling, itching to build your first train set. We completely understand. As a novice modeller, starting with the basics is often a good idea. This visual guide will help you understand the general workings of a train set and act as a foundation on which to build your knowledge.
1
A standard wall socket. Seems obvious, but some train sets made in the past by different manufacturers are battery-powered. For most modern train sets, you'll need mains power. This means indoor operation only.
2
Known as a transformer, this unit's role is to reduce high mains electricity to a safe voltage to use on your train set. Because of the low voltage used on your train set, you can put your hands across the track and not feel the electricity.
3
The transformer connects to a device known as a controller. The controller is constantly fed with electricity by the transformer, but only supplies power to the track when you rotate the throttle. Rotating the throttle more to the right increases the amount of electricity that flows out of the controller.
4
A power feed is a device that connects to the track of your train set. Its role is to form an easy link between the low-voltage output wires of your controller and the track. Simply push down on the two orange contacts and inset the power clip.
5
The power clip is joined to the rest of the loop of track on your train set. Each section of track is held together with a 'fishplate' – a metal clip that allows electricity to pass from one rail to the next. One rail of your train set is known as the positive, the other the negative. It doesn't matter which one is which at this stage, but it's important to differentiate between the two. If a short circuit occurs, such as when a metal object falls across the tracks, power to the train set is lost and the controller cuts out power until the problem is resolved.
6
With the locomotive on the track, the electricity flows through one rail, through one side of the locomotive's wheels to its motor, which begins to turn, then through the other side of its wheels and back through the other rail to be returned to the controller. Reversing the direction on the controller, reverses the flow of electricity through the motor, hence it spins in the opposite direction. This allows the locomotive to travel in either forward or in reverse.
7
The motor of the locomotive is connected to the gears, which in turn are connected to its wheels, allowing them to turn and move the locomotive. The locomotive stays on the rails because of its wheel flanges – the raised areas on the inside of each wheel.
8
Just like the real railway, the direction of route taken by a locomotive on a train set can be changed using a set of points. Points can be changed manually using your fingers, or powered with point motors to operate semi-automatically or automatically.
9
Because each coach is fitted with couplings, a locomotive is capable of hauling a train round the train set, not just itself. How many coaches or wagons you add behind a locomotive is entirely your choice, but increasing the load that a locomotive hauls will increase the rate of wear of its moving components.
This explains how a train set works. It's now over to you to start assembling yours. Be sure to follow the instructions included in your train set and take your time. There's nothing worse than rushing the process due to excitement and then making errors or, worse still, damaging some of the components. Enjoy your journey into the weird and wonderful world of railway modelling.
.jpg)
.jpg)

.jpg)
.jpg)
.jpg)
.jpg)

.jpg)

